Getting Started Quickly
If you haven’t already, just make sure your server matches the The Requirements.
Warning
Your server’s installation of Ubuntu, Debian or CentOS must be a clean one, i.e. no pre-installed cpanel, whcms, plesk and so on. This installer might BREAK any previously installed web-server. It is meant to be installed on a clean system!
Note
To install multiple nodes you will have to follow the manual installation steps. Please refer to the “Installation” chapter.
Run the Installer!
Please consider switching to Hornet-playbook <https://github.com/nuriel77/hornet-playbook>
Step 1
For CentOS users: you may need to install curl and screen. You can do that by running: sudo yum install curl screen -y.
For Debian or Ubuntu users: you may need to install curl and screen. You can do that by running: sudo apt-get install screen curl -y.
Step 2
Enter into a “screen” session by typing: screen -S iota. If connection to the server is lost during the installation you can re-attach to the session by running screen -r iota.
Step 3
The following command will pull the installer script and kick off the installation. Make sure you read the warning above!
sudo bash -c "bash <(curl -s https://raw.githubusercontent.com/nuriel77/iri-playbook/feat/docker/fullnode_install.sh)"
Note
If during the installation you are requested to reboot the node, just do so and re-run the commands above once the node is back.
- A successful installation will display some information when it is done, e.g. the URLs where you can access the graphs and IOTA Peer Manager.
By default you can access the graphs at:
https://your-ip:5555/dashboard/db/iota?refresh=30s&orgId=1
and Peer Manager via:
https://your-ip:8811
- You can log in using the username and password you have chosen during the start of the installtion.
- You should be redirected to a HTTPS URL (this has been added recently). This is a self-signed certificate: you will get a warning from the browser. You can add the certificate as an exception and proceed. In the ‘appendix’ chapter there’s some information on how to install valid certificates (certbot).
- Please consider hardening the security of your node and periodically upgrading all system packages. Any server is a target for attacks/brute forcing. Even more so if you are going to list your node publicly. See Security Hardening.
- You can proceed to the Post Installation for additional information on managing your node.
- To configure an email for alerts see Sending Alert Notifications.
Note
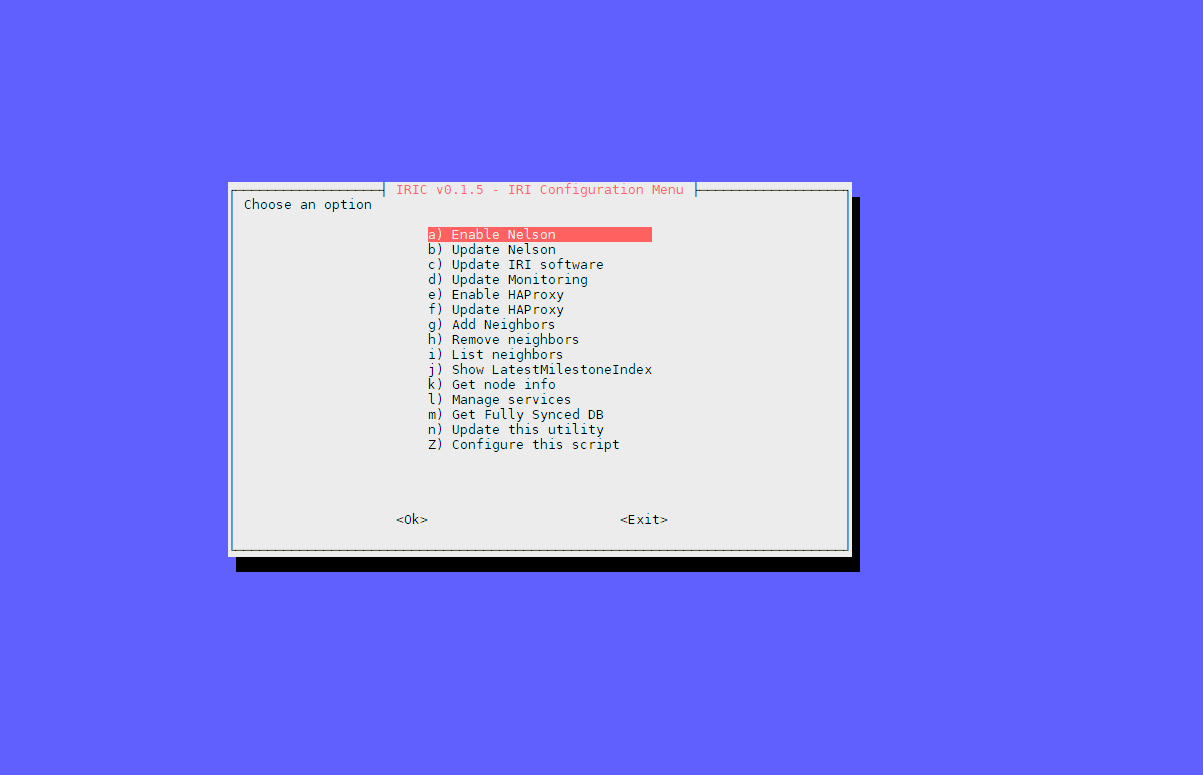
Checkout the new addition to the playbook: a handy tool to help manage the full node’s services:
Connection Lost
If you lost connection to your server during the installation, don’t worry. It is running in the background because we are running it inside a “screen” session .
You can always “reattach” back that session when you re-connect to your server:
screen -r -d iota
Note
Pressing arrow up on the keyboard will scroll up the command history you’ve been running. This saves some typing when you need to run the same command again!
Warning
Some VPS providers might be depending on Network Block Devices (for example Scaleway). If using Ubuntu or Debian, you need to configure ufw prior to running the installer. See: https://gist.github.com/georgkreimer/7a02af49604da91c5e3605b08b2872ec
Accessing Peer Manager
You can access the peer manager using the username and password you’ve configured during installation:
https://your-ip:8811
Accessing Monitoring Graphs
You can access the Grafana IOTA graphs using the username and the password you’ve configured during the installation:
https://your-ip:5555